Proper setups for warehouse and locations hold the very beginning of this module with parameters. In this post I will explain what setups I did for my warehouse to perform these functionalities in my future posts.
Create a warehouse
To create a warehouse, you should have a site since a warehouse must be attached to a site.
You can group your warehouses under sites according to your needs. I always use site and warehouse functionality according to their location and operations. If two warehouses are located in completely different addresses, I create two sites. If I will transfer goods between two warehouses with printing packing slips and loading merchandise to trucks, these two warehouses should be connected to two different sites for my approach.
Creating a site
- Simply open form Warehouse Management/Setup/Warehouse setup/Sites and hit “New”
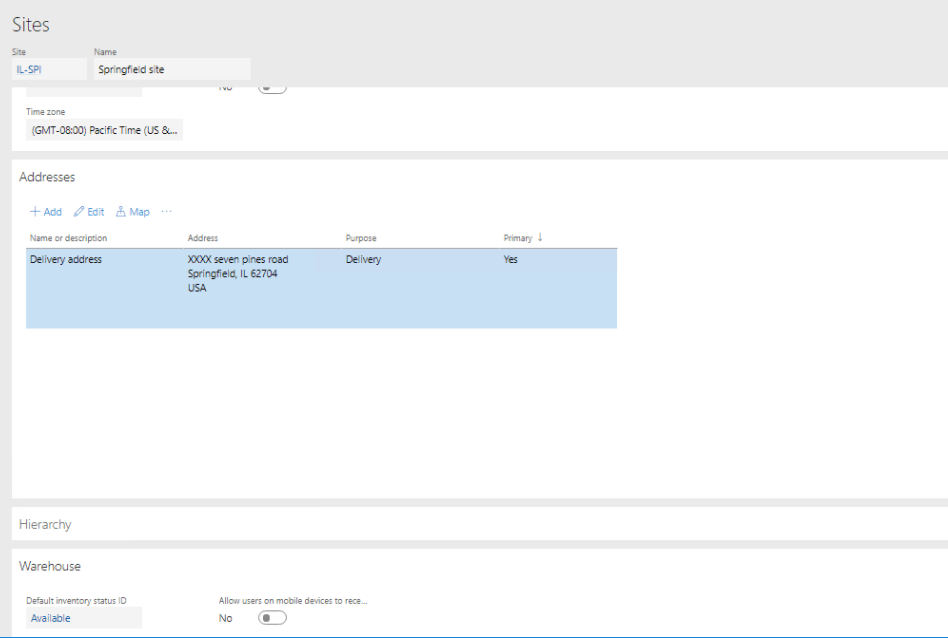
- Type a code in “Site” area and give it a name
- You may or may not specify an address for a site. But if you will, “Addresses” tab is where it is done. Just hit “Add” and fill the form that opens.
- “Inventory status ID”: Again, you may or may not fill this field according to your setup. The same selection exists in warehouses form, too. So this one will be inherited for warehouses under this site, if they don’t have one. As usual.
- “Allow users on mobile devices to receive at another warehouse” is a functionality that needs no explanation, since it works exactly like its name. However, this seemed to be risky for operations that I configured so, I never activated this functionality. For the ones who wonder its detail, the TechNet article is here to serve you: Receive items at a different warehouse than expected [AX 2012]
Here is a screenshot of my site:
Creating a warehouse
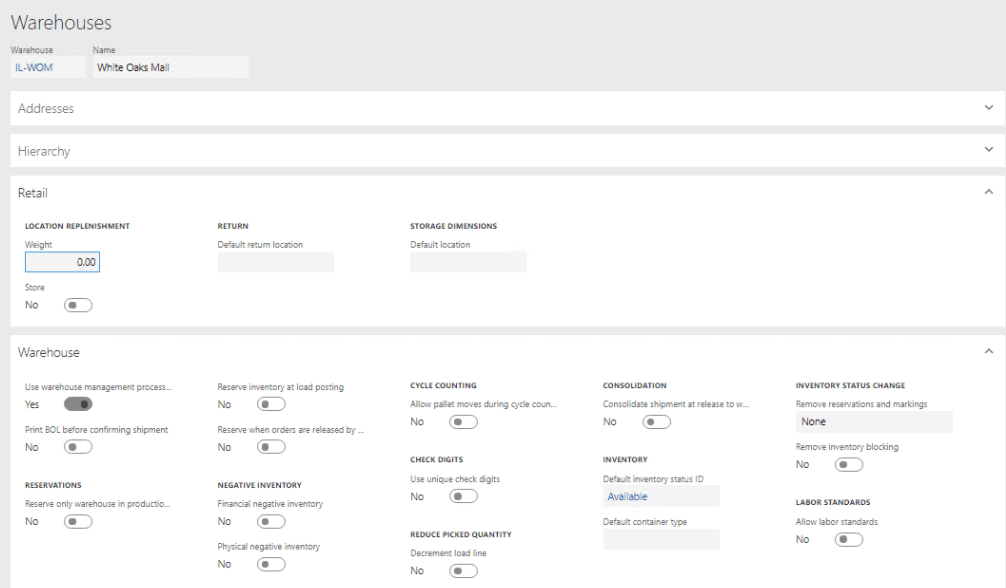
- As we did for the site, we will type an ID and name in top section.
- In retail section you have a selection to “Set as a store”
- This is a flag on warehouses and it can let you differ store’s warehouses when you prepare SQL queries or filter warehouses in list pages. There is no obligation to tick this for a warehouse that is also a retail store but, many partners customise this functionality to be consistent with retail store setups.
- In retail section you have a selection to “Set as a store”
- Activate warehouse management processes in “Warehouse” tab.
A little trick exists in here, because you have to set this on before you save the record since it will not be editable afterwards. If you forget to turn that on and save the record, basically you can delete the warehouse and recreate it with setting it on.
- In warehouse tab, you have many options to turn on and off and I will be demonstrating most of them in detail in my future posts. I will only fill “Inventory status” value for now to keep it going for my processes. But these two functionalities are also commonly used:
- Allow for physical negative inventory
- I activate this functionality in warehouses that mobile devices are not used and which do not have many inventory transactions. This is a functionality that will let your inventory go below zero. Remember, this may give more harm than benefit if your users aren’t really aware of what’s going on when there is negative inventory and it can also add extra effort if you will setup master planning for this warehouse also.
- Allow for financial negative inventory
- I never required to turn this functionality on in any of my projects and, all I know is already written here so it can give you the idea: Item model groups (form) [AX 2012]
Create your locations
To create a warehouse location, you should have the following two definitions in your environment:
- Location type
- Location profile
And these are nice to have:
- ZoneID
- ZoneGroup
Location type
Location type, seems to be only a grouping functionality like ZoneID. And the main form of it as following:
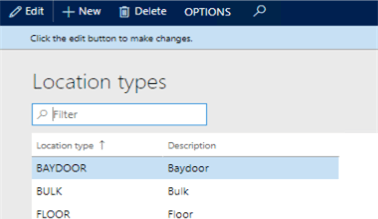
I couldn’t understand why I created such a record until I created my first “work template” and performed my first work on mobile device. I will get to these in the following posts but, basically you can configure these three to let the application consider specific locations for specific processes. For example, you can configure a location to be used for placing items accepted from a purchase order only, and another one to be used for transfer order receiving.
Location profile
Location profiles let you manage many things in your system to decide what’s going on in your warehouse locations. Let’s have a look at its main form:
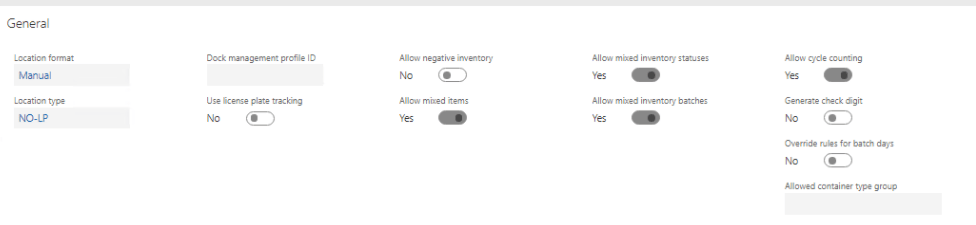
In here, you can define if locations belong to this profile id:
- Can be cycle counted
- Uses “License plate tracking”
- License plate is an inventory dimension as explained in this post: The 9 basic terms in warehouse management | Dynamics 365
- Can have negative inventory
- Can contain mixed inventory statuses
- Inventory status is an inventory dimension as explained in this post: The 9 basic terms in warehouse management | Dynamics 365
- Can contain different ItemIDs
- Can contain different BatchIDs
- Will have check digits
- Only when you create locations from “location setup wizard”. Check digit is an alternative to LocationIDs in your warehouse. You can have a location identified as “Location1”. If it has a check digit defined, application will ask for that digit instead, if you configured your menu item to force users to scan LocationIDs. You can leave it empty when you define a location manually as I will do in this post, or you can update it to empty value afterwards.
Zone and zone group
You do not have to define a ZoneID for your locations but, when it comes to cycle counting functionality as it will in future posts, this value is another way to group your locations. A grouping field that is different than “LocationProfileID”. I use ZoneID for operational requirements such as cycle counting and etc., and Location Profile ID for system configurations.
That is: “How my clients group their locations” is ZoneID; “How I setup the system to provide this functionality” is Location Profile ID for me. So Location Profile ID is more of a consultancy issue, not a customer decision.
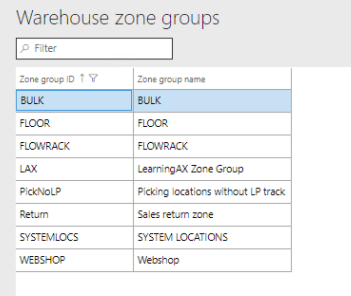
If you will use zones for your locations, you should have a zone group first. I create a generic one per company in my implementations but, this is basically how you group your zones. So, you can group your locations into zones; And your zones into zone groups. Here is the main form of zone groups in my personal environment. I only use the one named “LAX”, the others came through demo data:
And here are my zones, the ones that start with “LAX”:

Create a location
Manually
The easiest way to do it is, just opening the form Warehouse management/Setup/Warehouse setup/Locations and hitting “New”. Then you can type your location and warehouse and specify your Location profile ID, zone ID and so on.
For now, I wanted to create 3 locations without license plate tracking, and 1 location with license plate tracking to use it as my warehouse’s “Default receipt location”. We will get to what that means in my future posts.

Use location setup wizard
You can use “Location setup wizard” for creating locations but, it is not compatible with Warehouse Management functionalities. It uses the location type you provide and creates locations as many as you want with following the “Location type” algorithm. But you can’t specify LocationProfileID or sortcode values in this functionality. You can still create your locations this way and update them afterwards. The wizard functionality did not help me much but, a detailed article is only one click away if you would like to give it a try still: Locations wizard (form) [AX 2012]
These two – manual and wizard options- obviously, are not the way to do it if you will import let’s say 5,000 locations with sort codes, different LocationProfileIDs and etc. So what else you can do is to use DIXF functionality. And a post about that will be available here soon.